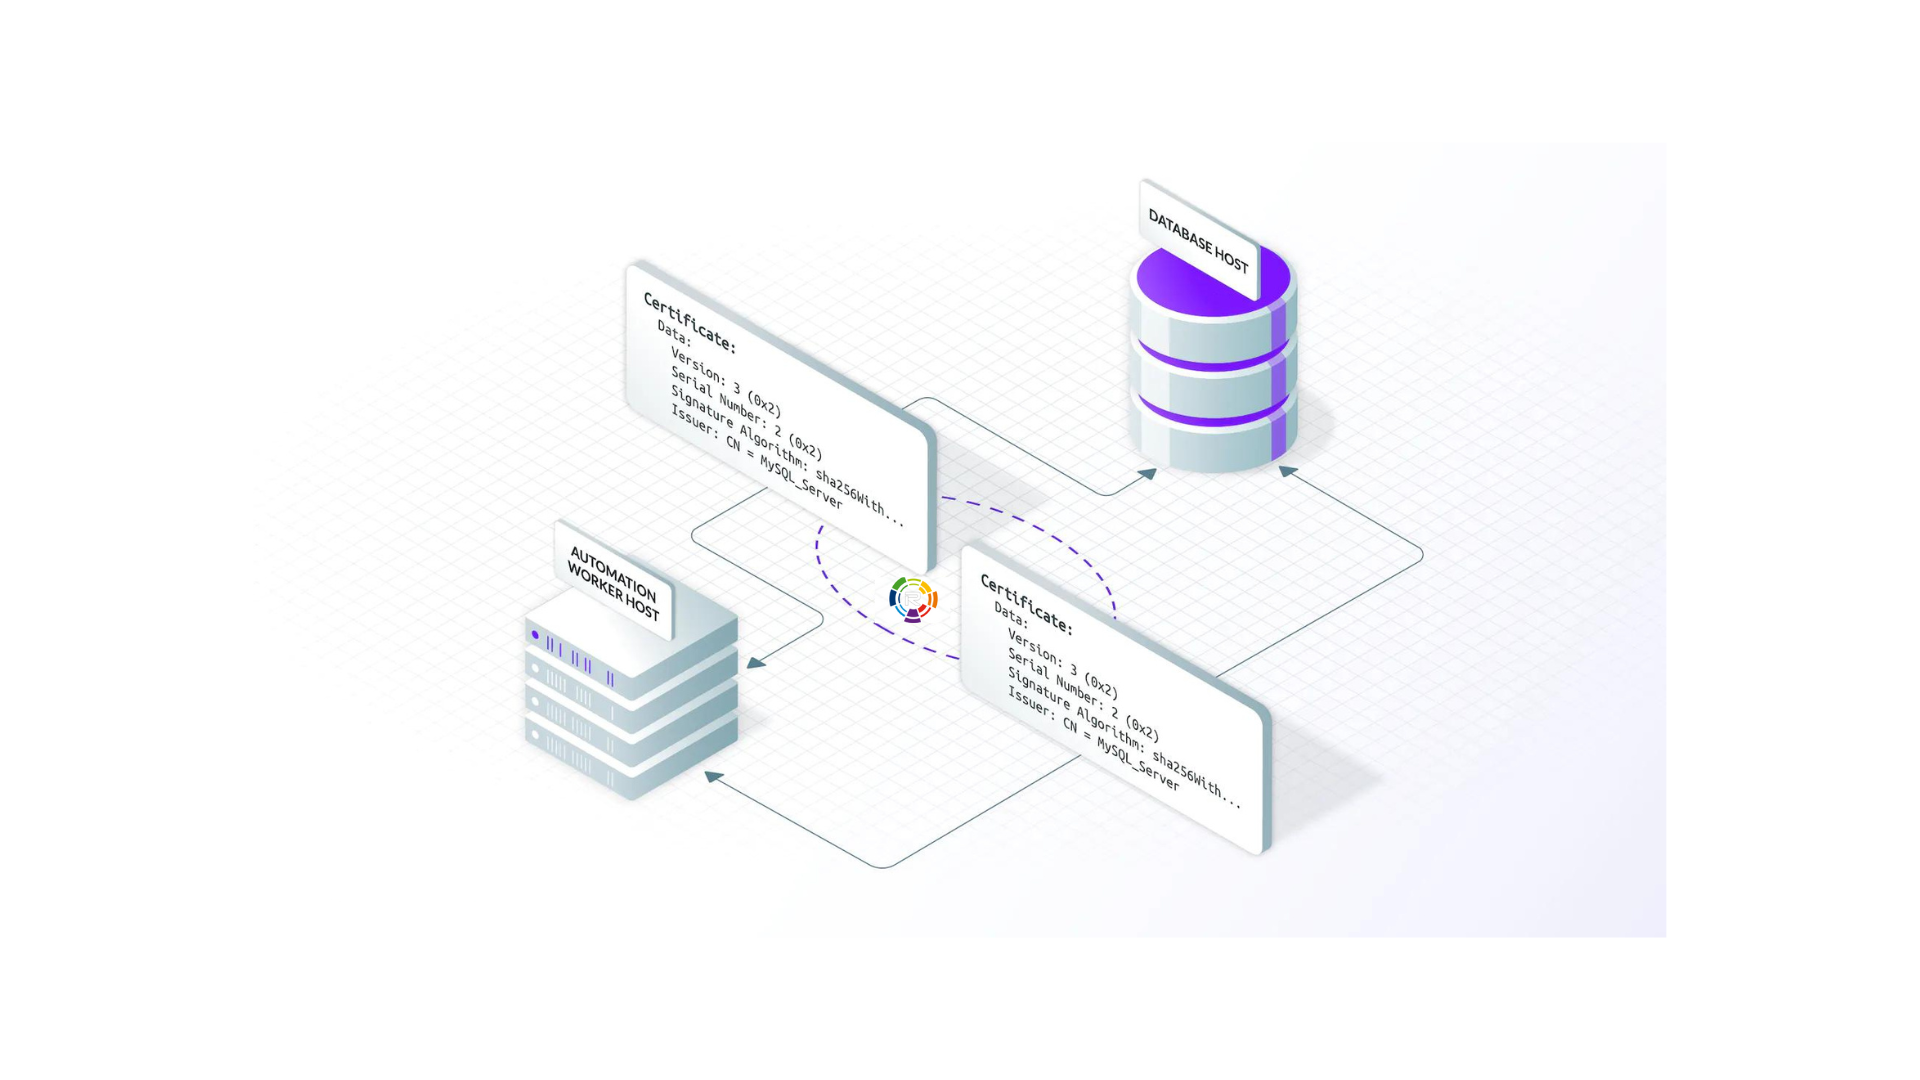
In the first part of this blog post, we setup SSL/TLS for a MySQL database, using the built in self-signed certificates. The main problem using out of the box self-signed certificates is that clients can’t verify that they’re talking to the right database host, and it’s not possible to verify the certificate chain.
In this post we’ll cover upgrading the client connection to VERIFY_IDENTITY and how to use Machine ID to continuously renew certificates. Remoteler is an open-source access plane that was initially focused on providing human access to infrastructure. Remoteler 9 introduced Machine ID to make it easier for developers to secure machine-to-machine communications based on X.509 and SSH certificates.
Key capabilities of Remoteler Machine ID include:
One problem of using mysql_ssl_rsa_setup and MySQL default self-signed certificate is that while the connection is encrypted, the server hostname is not verified. This opens the possibility for MITM attacks for another database using self-signed certs.
To fix this issue, you’ll need to issue certificates from a central certificate authority (CA). Depending on where you’re hosted, you have a few options. For AWS users:
Remoteler requires a central cluster. Comprising of a Proxy and Auth service. To install Remoteler follow our Getting Started Guide or the MySQL Database Setup Guide.
Along with an optional Remoteler Database Service, service should be installed on the same host as the MySQL service. When adding this service. The Remoteler Database Service will be set up on item on step 4.
Remoteler uses mutual TLS authentication with self-hosted databases. These databases must be configured with Remoteler’s certificate authority to be able to verify client certificates. They also need a certificate/key files that Remoteler can verify.

To configure MySQL to accept TLS connections, add the following to your MySQL configuration file, mysql.cnf:

Additionally, your MySQL database user accounts must be configured to require a valid client certificate. If you’re creating a new user:

By default, the created user may not have access to anything and won’t be able to connect, so let’s grant it some permissions:
Remoteler recommends starting a Remoteler Database service on the same host as the MySQL Instance.

Start the database service
remoteler db start
   --token=/tmp/token
   --auth-server=remoteler.example.com:443
   --name=test
   --protocol=mysql
   --uri=localhost:3306
--labels=env=devtsh for end-usersOnce the Database Service has joined the cluster, log in manually to see the available databases:
tsh login --proxy=remoteler.example.com --user=testuser
tsh db ls
#Name    Description   Labels
#
#------- ------------- --------
#
#example Example MySQL env=dev
To connect to a particular database server, first retrieve credentials from Remoteler using the tsh db login command:

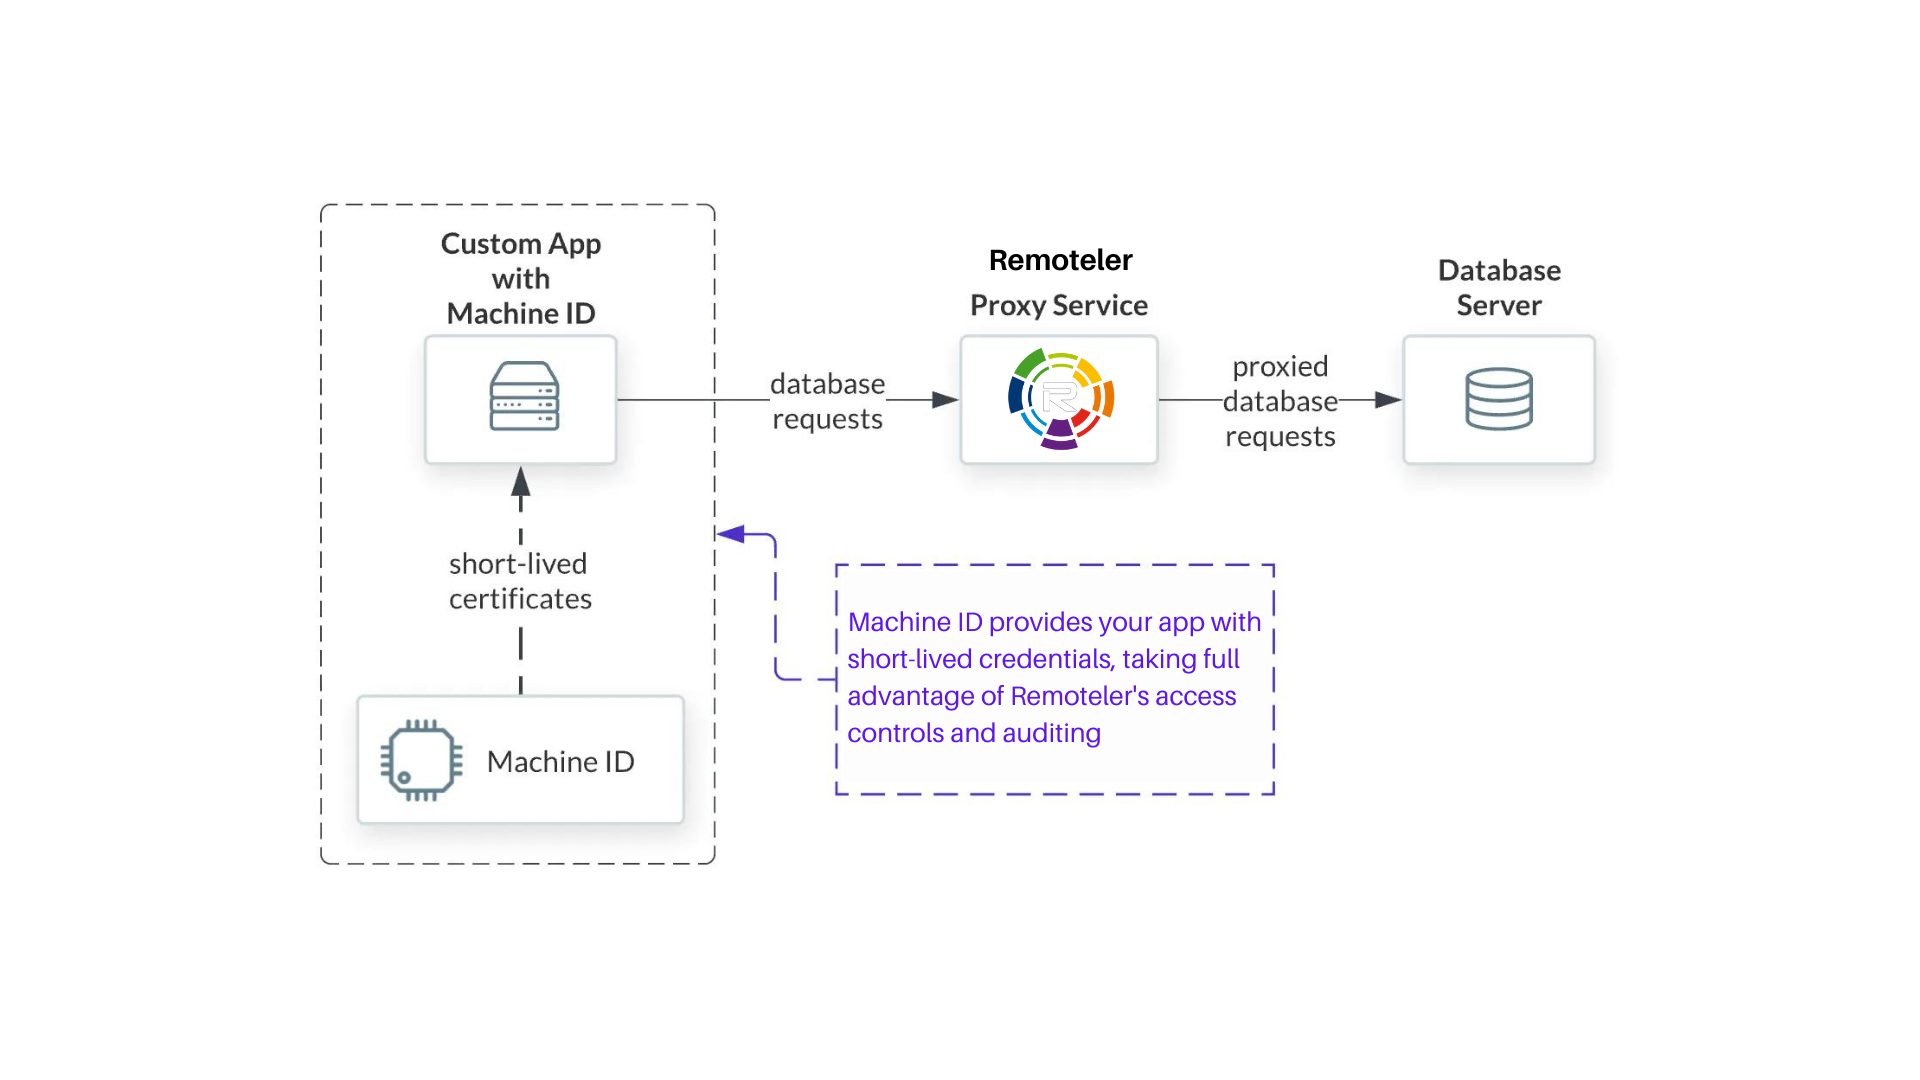
The last stage of securing MySQL database is to update clients to use the new SSL/TLS certificates. Remoteler has created a small program tbot to help clients obtain new short-lived certificates.
tbot and tbot proxy on the application host.Make sure Remoteler has been installed. Create a bot user and join token
Start by creating a configuration file for Machine ID at /etc/tbot.yaml:
auth_server: "auth.example.com:3025"
onboarding:
  join_method: "token"
  token: "abcd123-insecure-do-not-use-this"
  ca_pins:
  - "sha256:abdc1245efgh5678abdc1245efgh5678abdc1245efgh5678abdc1245efgh5678"
storage:
  directory: /var/lib/remoteler/bot
destinations:
  - directory: /opt/machine-id

    database:
      service: example-server
      username: alice
      database: example

    # If using MongoDB, be sure to include the Mongo-formatted certificates:
    configs:
      - mongo
Machine ID needs two services, one for obtaining the certificates and another to create a database proxy. Once these two services are created, start the two systemd services.
The final stage is to update your application or API to use the certificates obtained by Machine ID. At this final stage we’ll make the application use sslmode=verify-full, providing the strongest integrity checks against the database. The standard TLS credentials may be found in your configured destination directory, which in this example is /opt/machine-id. The certificate may be found at /opt/machine-id/tlscert along with the private key /opt/machine-id/key and CA at /opt/machine-id/remoteler-database-ca.crt. These are compatible with most database clients.
Below is an example Go Program, that includes the certificates as part of sql.Open and sets the sslmode to verify-full.
// This example program demonstrates how to connect to a Postgres database
// using certificates issued by Remoteler Machine ID.

package main

import (
	"database/sql"
	"fmt"
	"log"

	_ "github.com/go-sql-driver/mysql"
)

func main() {
	// Open connection to database.
	db, err := sql.Open("mysql", fmt.Sprint(
		"host=localhost ",
		"port=1234 ",
		"dbname=example ",
		"user=alice ",
		"sslmode=verify-full",
		"sslrootcert=/opt/machine-id/remoteler-database-ca.crt ",
		"sslkey=/opt/machine-id/key ",
		"sslcert=/opt/machine-id/tlscert ",
	))
	if err != nil {
		log.Fatalf("Failed to open database: %v.", err)
	}

	defer db.Close()

	// Call "Ping" to test connectivity.
	err = db.Ping()
	if err != nil {
		log.Fatalf("Failed to Ping database: %v.", err)
	}

	log.Printf("Successfully connected to MySQL.")
}
You are all set. You have provided your application with an encrypted TLS connection in ‘VERIFY-FULL’ mode, using short-lived certificates tied to a machine identity that can access your database — with the bonus of being audited and easily rotated.
If you would like to learn more, check out our Machine ID Guides.